


 Top Rated Course

We may not have the course you’re looking for. If you enquire or give us a call on 01344203999 and speak to our training experts, we may still be able to help with your training requirements.
How to Add Signature in Microsoft Word: A Quick Guide
Sienna Roberts 27 September 2023In this blog, let's explore How to Add Signature in Microsoft Word to enhance your document's professionalism and authenticity. Adding a signature verifies content authenticity, elevates professionalism, meets legal requirements, and adds a personal touch. By mastering these techniques, you ensure your documents stand out.Image desc.: How to Add Signature in Microsoft Word?

Training Outcomes Within Your Budget!
We ensure quality, budget-alignment, and timely delivery by our expert instructors.
Table of Contents

Whether you’re sketching it out with the drawing tool or showcasing a scanned masterpiece, Word empowers you with a suite of signature styles. Tailor your sign-off to perfection—each method is crafted with unique benefits to match your specific needs. But How to Add a Signature in Microsoft Word?
Adding a signature isn’t just a formality; it adds a layer of security, verifies content authenticity and meets legal requirements for binding agreements. Dive into the world of digital autographs and find the perfect fit for your document with our blog on ‘How to Add Signature in Microsoft Word.
Table of contents
1) Importance of Adding Your Signature to Word Documents
2) Different methods to add a signature
3) Using the drawing tool
4) Inserting a picture of a signature
5) Steps to add a signature in Word Document
6) How to create a signature in Word using text
7) Conclusion
Importance of adding Your signature to Word documents
Before we explore how to add signature in Microsoft Word, let's understand why it's important. The act of inserting a signature in MS Word is more than a mere formality. It serves several essential functions that can impact the document's validity, reception, and legal standing. Let's delve into these key reasons to understand why adding a signature to a Word document should never be overlooked.
a) Authenticity: First and foremost, a Microsoft Word signature adds authenticity to a document. It serves as proof that the document has been reviewed and approved by the person who signed it.
b) Professionalism: Secondly, adding a signature elevates the level of professionalism in the documents.
c) Legal requirements: In many cases, the law mandates the addition of a signature. Legal documents such as contracts, and affidavits usually require a signature to be considered legally binding.
d) Verification: A signature also allows for the verification of a document's content. If a document has been altered post-signing, the original signature serves as a marker for the last approved version.
e) Personal touch: Finally, an MS Word signature adds a personal touch to a document. It connects the reader or recipient to a real person, making the content more relatable and credible.

Different methods to add a signature
Knowing how to add a signature in MS Word is essential, and fortunately, there are multiple methods to do so. Each method has its unique advantages.
Using the drawing tool
The built-in drawing tool in MS Word is convenient for quick signatures. This feature is especially handy if someone doesn't need a legally binding signature. Draw using a mouse, a touchpad, or even a touchscreen if the device supports it. However, the downside is that this type of signature may not be suitable for official or legal documents due to security concerns.
Inserting a picture of a signature
Using an image of handwritten signature offers a more personal touch when one insert signature in MS Word. First, scan or photograph the signature and save it as an image file. Next, insert this image into the Word document. This method is generally acceptable for formal and professional documents. On the downside, image files can be easily copied and pasted, making this method less secure than digital signatures.
Personalize your documents! Learn how to add a signature in Microsoft Word easily and make your work stand out. Click here for a quick guide!
Using a digital signature
Digital signatures offer a great level of security among the methods. These signatures are encrypted and unique to the signer, adding an extra layer of verification. They confirm not only the identity of the signer but also ensure that the document hasn't been altered post-signing.
Unlock the power of Microsoft Word! Explore must-know features on Microsoft Word to boost your productivity. Click here to learn more!
Using the drawing tool
The drawing tool in MS Word is a straightforward answer to How to Add Signature in Microsoft Word. It's especially convenient when you need to quickly sign a document, and it’s not required to be legally binding. This is a basic form of signature, and the process is quite simple.
Step-by-step process:
a) Open Document: Open the Word document where you want to add your signature.
b) Place Cursor: Place your cursor at the spot where you want your signature to appear.
c) Go to 'Insert': Click on the 'Insert' tab in the ribbon at the top of the screen.
d) Select 'Draw': In the 'Drawing' group, click on 'Draw' and then choose 'Draw with Touch'.
e) Draw Signature: Use your mouse, touchpad, or touchscreen to draw your signature. Adjust the thickness of the pen from the 'Draw' tab.
f) Position Signature: Once you are satisfied with your signature, you can position it accurately in the document.
Take your Microsoft Word skills to the next level with our expert Microsoft Word Expert MO101 Training!
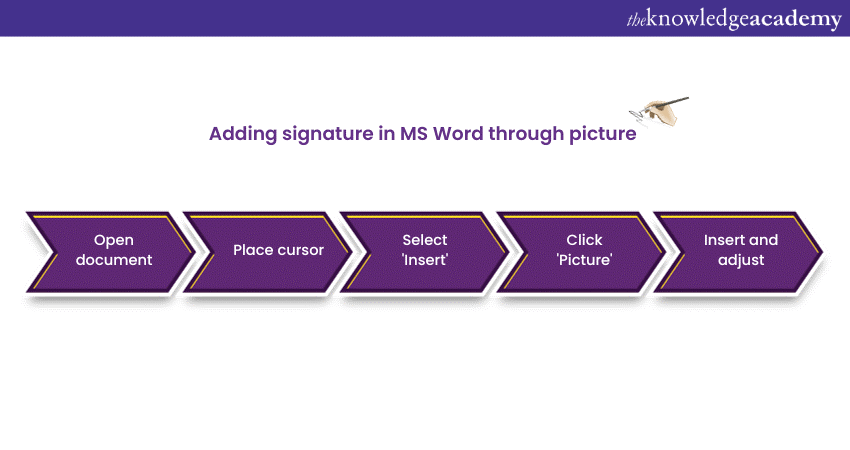
Inserting a picture of a signature
Inserting a picture of a handwritten signature is another method to add a personal and professional touch to the Word documents.
Step-by-step process
a) Scan signature: First, scan or snap a clear photo of your handwritten signature.
b) Save the image: Save it as a JPG or PNG file.
c) Open document: Open the Word file where you want the signature.
d) Place cursor: Position the cursor at the desired spot.
e) Go to 'Insert': Click the 'Insert' tab in the top menu.
f) Choose 'Pictures': Select 'Pictures' and find your saved image.
g) Insert and adjust: Add the image and resize as needed.
Master Microsoft Word and get certified with Microsoft Word MO-100 Training today!
Steps to add a signature in Word Document
Here's a brief guide that sums up the steps for two popular methods on “How to Add Signature in MS Word”: using the drawing tool and inserting a picture of your signature.
Drawing tool method
a) Open your document: Open the MS Word file where you want to insert the signature.
b) Locate cursor: Position the cursor at the spot for the signature.
c) Click 'Insert': Go to the 'Insert' tab.
d) Choose 'Draw': Select 'Draw' and then 'Draw with Touch'.
e) Sketch: Use your device to draw your signature.
Personalize your documents! Learn how to add a signature in Microsoft Word easily and make your work stand out. Click here for a quick guide!
Picture method
a) Open document: Same as above, open the Word file.
b) Place cursor: Put the cursor where the signature will go.
c) Select 'Insert': Navigate to the 'Insert' tab.
d) Click 'Pictures': Select 'Pictures' and browse for your saved signature image.
e) Insert and adjust: After inserting, resize and position the image.
Elevate your Microsoft Office 365 skills with our comprehensive Microsoft Office 365 Masterclass - Register now!
How to create a signature in Word using text?
Creating a signature in Word using text allows you to easily add a professional touch to your documents.
Create a signature in Word by using text
Follow these steps to create a signature in Word by using text:
1) Choose your signature image and the words below it.
2) Navigate to the "Insert" menu, select "Quick Parts," and then "Save Selection to Quick Part Gallery."
3) In the pop-up box, name it and choose "AutoText" from the Gallery drop-down menu.
4) Click "OK."
When you're ready to add your signature and text, position your cursor where you want it in the file and select the Insert tab. Click "Quick Parts" > "AutoText" and select the name you provided.
Make your documents official! Learn how to add a signature in Microsoft Word quickly and easily. Click here for a step-by-step guide!
Create a reusable signature in Word on Mac
Follow these steps to create a reusable signature in Word or Mac:
1) Choose an image of your signature and the words below it
2) From the menu bar, select "Insert" > "AutoText" > "New"
3) In the pop-up window, give it a name you'll remember
4) Just hit "OK"
To add a signature and text, move your cursor where you want them. Click Insert > AutoText in the navigating bar. Choose AutoText, then search for the name you want in the list and choose it. Hit the Insert button.
Enhance your Microsoft Word proficiency with our Microsoft Word Course today!
Conclusion
Knowing How to Add a Signature in Microsoft Word is essential for enhancing the authenticity and professionalism of your documents. Whether through the drawing tool, scanned image, or digital signature, each method offers tailored benefits for diverse needs. Start adding your signature today to bring a personal touch and add credibility to your Word documents.
Take your Microsoft Office skills to the next level – sign up for our Power Apps and Power Automate Training!
Frequently Asked Questions
Why can't I find the signature line in Word?

If you can't find the signature line in Word, ensure you have the "Signature Line" option enabled under the "Insert" tab. This feature is available only in certain versions of Word.
How do I create a digital signature?
To create a digital signature in Word, go to the "Insert" tab, select "Signature Line" from the "Text" group, fill in the details, and click "OK" to insert the signature line.
What are the other resources and offers provided by The Knowledge Academy?
The Knowledge Academy takes global learning to new heights, offering over 30,000 online courses across 490+ locations in 220 countries. This expansive reach ensures accessibility and convenience for learners worldwide.
Alongside our diverse Online Course Catalogue, encompassing 17 major categories, we go the extra mile by providing a plethora of free educational Online Resources like News updates, Blogs, videos, webinars, and interview questions. Tailoring learning experiences further, professionals can maximise value with customisable Course Bundles of TKA.
What is the Knowledge Pass, and how does it work?
The Knowledge Academy’s Knowledge Pass, a prepaid voucher, adds another layer of flexibility, allowing course bookings over a 12-month period. Join us on a journey where education knows no bounds.
What are the related courses and blogs provided by The Knowledge Academy?
The Knowledge Academy offers various Microsoft Office Training, including Microsoft Word Course, Microsoft PowerPoint Training, Microsoft SharePoint Training and Microsoft Teams Training. These courses cater to different skill levels, providing comprehensive insights into Excel Skills For Accountants.
Our Office Applications Blogs cover a range of topics related to Microsoft Word, offering valuable resources, best practices, and industry insights. Whether you are a beginner or looking to advance your Microsoft Office skills, The Knowledge Academy's diverse courses and informative blogs have you covered.
Upcoming Office Applications Resources Batches & Dates
Date
 Microsoft Word Course
Microsoft Word Course
Fri 7th Mar 2025
Microsoft Word Course
Fri 2nd May 2025
Microsoft Word Course
Fri 4th Jul 2025
Microsoft Word Course
Fri 5th Sep 2025
Microsoft Word Course
Fri 7th Nov 2025
 If you wish to make any changes to your course, please


