


 Top Rated Course

We may not have the course you’re looking for. If you enquire or give us a call on +357 26030221 and speak to our training experts, we may still be able to help with your training requirements.
Photography Lighting: Illuminating Your Shots
Eliza Taylor 14 February 2025Journey into the captivating world of "Photography Lighting" with this comprehensive blog." Explore the vast array of lighting techniques in photography, from the magic of natural light to the artistry of front, backlight, broad, short, and butterfly lighting. This blog will help you master the craft of photography lighting and bring your visual stories to life.
Training Outcomes Within Your Budget!
We ensure quality, budget-alignment, and timely delivery by our expert instructors.

Photography Lighting emerges as a shaper of narratives and evokes emotions. Every photograph's essence is intricately woven with the interplay of light and shadows. Photography Lighting isn't just about illumination; it's the art that wields the power to transform ordinary scenes into extraordinary tales.
Furthermore, the Photography industry is estimated to reach a market value of 38 billion GBP by 2025, according to a report by Marketsplash. Transform your Photography from ordinary to extraordinary with the right usage of Photography Lighting. Learn how light influences mood, composition, and storytelling in Photography.
Table of Contents
1) An introduction to Photography Lighting
2) The importance of position
3) Exploring the different types of Lighting in Photography
a) Natural light
b) Front light
c) Backlight
d) Soft light
e) Hard light
f) Rim light
g) Loop lighting
h) Broad lighting
I) Short lighting
j) Butterfly lighting
4) Conclusion
An introduction to Photography Lighting
Photography Lighting is the art and science of illuminating a subject to capture it as an image. In essence, without light, Photography wouldn’t exist. It's the unsung hero, painting every frame with shades, tones, and moods. The quality and direction of light can drastically transform an image.
Now, there are two primary sources, namely natural light, which encompasses sunlight and moonlight, and artificial light, including flashes, studio lights, and more. The colour temperature, measured in Kelvins (K), denotes whether the light is warm (yellowish) or cool (bluish).
Moreover, the quality of light, ranging from hard to soft, influences how shadows appear and the overall mood of the photo. Lighting techniques in Photography like front, side, and backlighting allow Photographers to play with shadows and highlights, crafting depth and emotion in each shot. Mastering this element means understanding its nuances, experimenting with its play, and always recognising its profound impact on the final picture.

The importance of position in Photography Lighting
Here is a list of the various aspects of positioning in Photography Lighting:
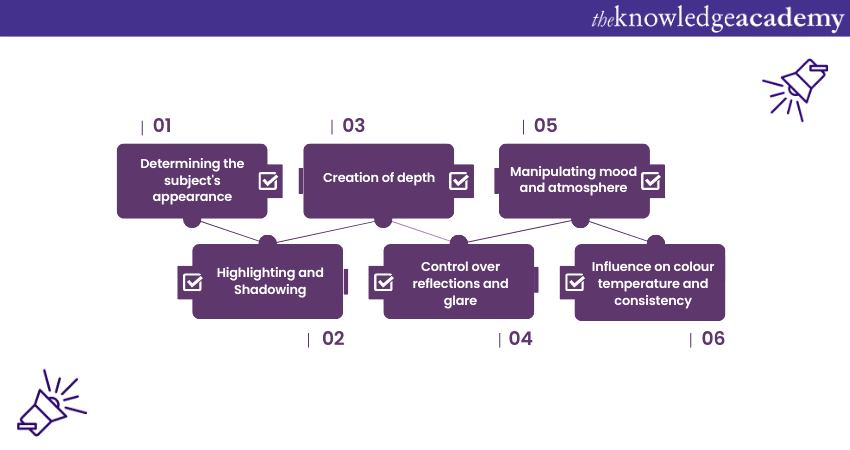
Determining the subject's appearance
The appearance of a subject in Photography is heavily influenced by lighting and its interplay with the subject. To determine and control this appearance, consider the following:
a) Direction & angle of light: The direction from which light hits the subject can emphasise or flatten details.
b) Quality of light: Soft light, like that diffused through a cloud or soft box, creates gentle transitions between light and shadow, ideal for flattering portraits.
c) Intensity & exposure: The brightness of the light source and the camera's exposure settings can dictate the brightness or darkness of a subject, impacting mood and focus.
Creation of depth
Depth in Photography infuses images with a three-dimensional, lifelike quality, transcending the inherent flatness of a photograph. Here's how it's achieved:
a) Lighting & shadows: The interplay between light and dark areas gives an image dimension. Side or angled lighting, for instance, can cast shadows that accentuate the contours of a subject, giving it depth.
b) Layering: Incorporating elements in the foreground, middle ground, and background creates a sense of space. The differentiation between these layers, especially when illuminated differently, adds depth.
c) Perspective & angle: Shooting from unique angles or employing techniques like leading lines directs the viewer's gaze through the image, creating a sense of depth.
d) Depth of field: A shallow depth of field, where only the subject is in sharp focus and the background is blurred, isolates the subject and creates a perception of depth.
Manipulating mood and atmosphere
The mood and atmosphere in Photography are pivotal in evoking emotions in its viewers. By manipulating various elements, Photographers can craft a specific ambiance:
a) Lighting intensity & direction: Soft, diffused light creates a gentle, dreamy mood, while stark, hard light can evoke drama and intensity. The direction, be it backlighting for an ethereal glow or side lighting for a mysterious ambiance, also plays a role.
b) Colour temperature: Warm tones (reds and yellows) generally convey comfort, nostalgia, or romance, while cooler tones (blues and greens) can suggest calmness, melancholy, or isolation.
c) Composition & perspective: The arrangement of elements, choice of vantage point, and inclusion/exclusion of certain details can influence mood. A low angle can increase the perceived dominant or foreboding appearance of a subject, while a high angle might render it vulnerable or diminutive.
Highlighting and Shadowing
Highlighting and shadowing are foundational techniques in Photography that illuminate or obscure parts of an image, molding its perception and narrative. Here's an overview:
a) Highlights: These are the brightest parts of an image, drawing immediate attention. Highlights can emphasise specific features, lead the viewer’s eye, or give an image a radiant, luminous quality.
b) Shadows: Shadows are areas with reduced light, often cast by objects blocking a light source. They can create depth, contrast, and texture. Shadows sculpt and define, revealing the shape and volume of objects in an image.
c) Balance: Striking the right balance between highlights and shadows is crucial. This interplay determines the mood, depth, and three-dimensionality of a photo. Techniques such as dodging (increasing exposure) and burning (decreasing exposure) in post-processing can fine-tune this balance.
Control over reflections and glare
Reflections and glare are intriguing aspects of Photography, capable of enhancing or detracting from an image's appeal. Harnessing control over these phenomena is crucial for capturing the desired effect:
a) Understanding surfaces: Reflective surfaces like water, glass, and polished metals can mirror light sources and surroundings. Recognising these surfaces allows Photographers to anticipate reflections and use them creatively or avoid unwanted ones.
b) Polarising Filters: One of the most effective tools for managing reflections and glare, especially in landscapes, is the polarising filter.
c) Angle of incidence: The intensity of a light's reflection can be determined by the angle at which it hits any surface relative to your camera. By shifting the camera angle or the position of the light source, one can manipulate reflections.
d) Softening light: Using diffusers or shooting during times when light is soft, like the golden hour, can reduce harsh glares.
Influence on colour temperature and consistency
Colour temperature and consistency are integral aspects of Photography, affecting the mood, tone, and authenticity of an image. Here's a closer look:
a) Colour temperature: Measured in Kelvins (K), colour temperature describes the warmth or coolness of light. Low temperatures (around 2000K-3000K) produce warmer, reddish tones, whereas high temperatures (above 5000K) yield cooler, bluish hues.
b) Artificial lighting: Different light sources, like tungsten bulbs or LED lights, have varying colour temperatures, affecting the hues captured in photographs.
c) Consistency: Inconsistent lighting, such as mixed light conditions (e.g., combining natural daylight with fluorescent lights), can result in uneven colour casts, potentially disrupting the image's aesthetic.
d) Post-processing: Modern photo-editing software allows Photographers to adjust colour temperature and correct inconsistencies, ensuring a harmonious and desired look.
Accentuate your film Photography skills with lighting techniques, by signing up for the Filmmaking Masterclass now!
Exploring the different types of Lighting in Photography
Photography Lighting encompasses various techniques. Experimenting with these techniques adds creativity to Photography. Here is a list of the many techniques used:
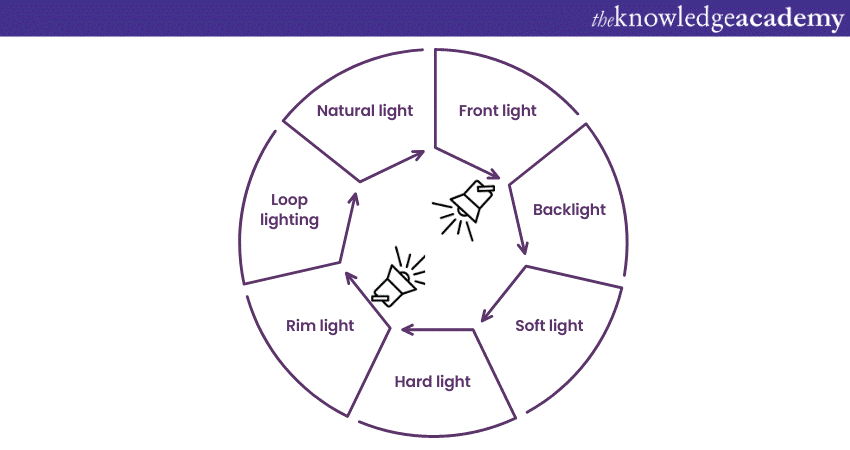
Natural light
The natural light technique in Photography harnesses the sun's illumination, exploiting its changing angles and colour temperature throughout the day. Photographers utilise the soft, warm light of the golden hour that occurs shortly after sunrise or before sunset.
The technique allows for gentle shadows, rich colours, and an ethereal quality that enhances portraits, landscapes, and various subjects. However, adapting to the unpredictable nature of natural light requires flexibility and timing to achieve captivating visuals with a distinct, natural charm.
Front light
The front light technique in Photography involves positioning the light source in front of the subject, eliminating shadows and evenly illuminating the scene. It's commonly used in portrait Photography, providing even illumination on the subject's face.
While it minimises texture and can create a flat appearance, careful adjustments in positioning and intensity can produce soft, pleasing results. This technique is suitable when a clean, well-lit representation of the subject is desired, often used in fashion or beauty Photography for its flattering and straightforward nature.
Back light
The back light technique in Photography places the light source just behind the subject, creating a halo or rim of light around the edges. This technique is adept at separating the subject from the background, adding depth and drama.
Moreover, it's especially effective in producing silhouettes, emphasising contours, or creating a sense of mystery. While it can be challenging to balance exposure between the subject and the background, mastering the back light technique offers Photographers a powerful tool to evoke emotions and capture striking visual contrasts, making subjects stand out and leaving a lasting impression.
Soft light
The soft light technique in Photography involves using a large, diffused light source to create gentle, gradual transitions between light and shadow. This technique minimises harsh contrasts, resulting in images with smooth tonal gradations and reduced surface imperfections.
Furthermore, soft light flatters subjects and is commonly used for portraits, still life, and certain types of product Photography. It's achieved through natural light diffused by clouds or by using light modifiers like soft boxes or diffusers in artificial lighting setups.
Hard light
The hard light technique in Photography employs a small, intense light source that creates strong, distinct shadows with sharp edges. It brings out textures, shapes, and details dramatically, making it ideal for highlighting intricate patterns and adding a sense of depth.
Often used in fashion and architectural Photography, the hard light technique adds an edgy and bold aesthetic, evoking a sense of drama and intrigue that stands out distinctly from the softer, more diffused alternatives.
Rim light
The rim light technique in Photography involves placing a light source behind the subject, just out of the camera's view, creating a luminous outline or ‘rim’ around the subject's edges. This technique separates the subject from the background, adding depth and dimension to the image.
Rim lighting is commonly used to emphasise the contours of a subject, especially in portraits, and to create a sense of drama and intrigue. It can transform an ordinary scene into something captivating and visually striking, drawing the viewer's attention to the subject's form and creating a sense of separation from the surroundings.
Loop lighting
The loop light technique in Photography is a classic portrait lighting setup where the light source is positioned slightly above and to the side of the subject's face, casting a small shadow of the nose that resembles a loop.
Furthermore, this technique is flattering and commonly used for portrait Photography as it accentuates facial features while adding dimension. The loop light technique creates a soft, natural look that is both engaging and appealing.
Broad lighting
The broad light technique in Photography is a portrait lighting setup where the side of the face turned slightly away from the camera is illuminated. This technique maximises the lit area on the subject's face, creating a softer, less dramatic look.
Furthermore, it's often used to flatter subjects with certain face shapes and is a popular choice for portrait Photography, particularly for subjects who might want to minimise perceived flaws. The broad light technique offers a gentle and approachable aesthetic, ideal for capturing subjects in a natural, appealing manner, and is a versatile option for various lighting scenarios. In Mobile Photography, this technique can be easily adapted to create flattering images in different environments, providing a soft and inviting look to your shots.
Short lighting
The short light technique in Photography involves illuminating the side of the subject's face turned away from the camera. This positioning creates a play of light and shadow that results in a more dramatic, sculpted look.
Now by emphasising the contours and angles of the subject, short light adds depth and character to portraits. It's particularly effective for creating mood and highlighting textures.
Butterfly lighting
The butterfly lighting technique, also known as paramount lighting, places the light source directly in front and above the subject's face, casting a slight shadow under the nose that resembles a butterfly's wings.
This setup creates a flattering, symmetrical illumination that minimises shadows and highlights facial features. Commonly used in portrait Photography, the butterfly lighting technique produces a soft, even complexion while adding a subtle depth to the subject's eyes.
Conclusion
The art of Photography Lighting transcends mere illumination; it's the painter of emotions, the sculptor of textures, and the conductor of moods. From soft and enchanting to bold and dramatic, mastering the symphony of light empowers Photographers to craft captivating visual stories that resonate in every frame.
Enhance your brand’s value with better lens qualities and improved tonality, by signing up for the Photography Masterclass now!
Upcoming Business Skills Resources Batches & Dates
Date
 Photography Course
Photography Course
Fri 4th Apr 2025
Photography Course
Fri 27th Jun 2025
Photography Course
Fri 29th Aug 2025
Photography Course
Fri 24th Oct 2025
Photography Course
Fri 5th Dec 2025
 If you wish to make any changes to your course, please


