We may not have the course you’re looking for. If you enquire or give us a call on +08000201623 and speak to our training experts, we may still be able to help with your training requirements.
Training Outcomes Within Your Budget!
We ensure quality, budget-alignment, and timely delivery by our expert instructors.

Logos are visual representations of a brand's identity, and they can make or break the brand's first impression on potential customers. As a designer, your aim must be to create a logo that is unique, professional, and eye-catching. To do so, you need to use a powerful graphic design tool like Adobe Illustrator. But the question arises: How to Create a Logo in Adobe Illustrator? If you are interested in knowing more about it, then keep reading this blog.
In this blog, you will learn How to Create a Logo in Adobe Illustrator from scratch, using basic shapes, colours, fonts, and effects. Whether you are a seasoned designer seeking to develop your skills or a newcomer eager to dive into the world of graphic design, we will walk you through this process.
Table of Contents
1) Importance of a Well-designed Logo
2) Types of Logos
3) Steps to Create a Logo in Adobe Illustrator
a) Start with the Creative Brief
b) Setting up Your Document
c) Organising Your Workspace
d) Getting Started with Shapes
e) Adding Lines, Colour and Additional Objects
4) Conclusion
Importance of a Well-designed Logo
Here are the advantages of a well-designed Logo:
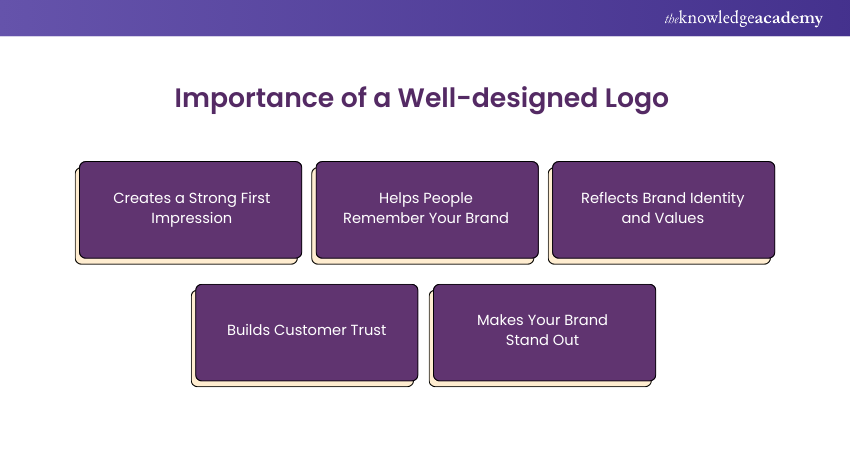
a) Creates a Strong First Impression: A good logo grabs attention and makes people curious about your brand. It shows professionalism and quality.
b) Helps People Remember Your Brand: A unique logo sticks in people’s minds. It makes it easier for them to recognise and recall your brand later.
c) Reflects Brand Identity and Values: Your logo shows what your brand is about. It communicates your brand's message and values clearly.
d) Builds Customer Trust: A well-designed logo makes your brand look reliable. It helps build a strong, loyal customer base.
e) Makes Your Brand Stand Out: A distinctive logo sets you apart from competitors. It makes your brand unique and memorable.
Types of Logos
Different types of logos can effectively represent a brand. The main types include text logos and combination logos.
Text Logo
A text logo uses only words or letters to represent the brand. It focuses on the brand name, often using unique fonts and styles. This makes the brand name easy to recognise and remember. Text logos are simple and can be very effective for strong brand names.
Combination Logo
A combination logo uses both text and symbols or icons. It blends the brand name with a visual element, creating a balanced design. This type of logo is versatile and combines the strengths of both text and imagery. It helps in creating a memorable brand identity.
Transform your skills with our hands-on Adobe Training. Start your journey to becoming a design pro today!
Steps to Create a Logo in Adobe Illustrator
Creating a logo in Adobe Illustrator involves a series of well-defined steps to ensure a professional and polished design. This section covers each step, from the initial creative brief to exporting the final logo.
Step 1: Start with the Creative Brief
Begin by understanding the client’s needs and goals for the logo. Gather information about the brand’s target audience and research competitors to see what works and what doesn’t. Brainstorm ideas that align with the brand’s identity. Create a sketch or outline of your ideas to visualise them. This step sets the foundation for your design process.
Step 2: Setting up Your Document
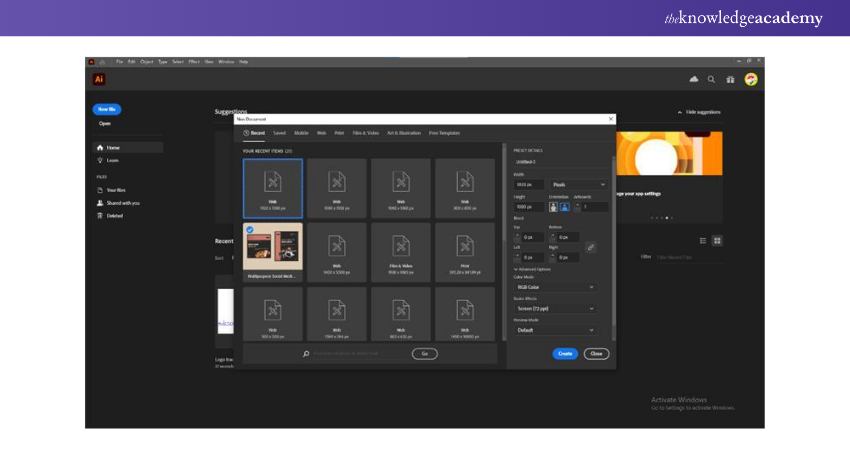
Open Adobe Illustrator and create a new document, setting the dimensions and resolution based on where the logo will be used. Choose the appropriate colour mode, such as RGB for digital use or CMYK for print. Name your document and save it in a dedicated folder to keep your work organised. Set up guides and grids to help with alignment and precision. This preparation ensures a smooth workflow.
Step 3: Organising Your Workspace
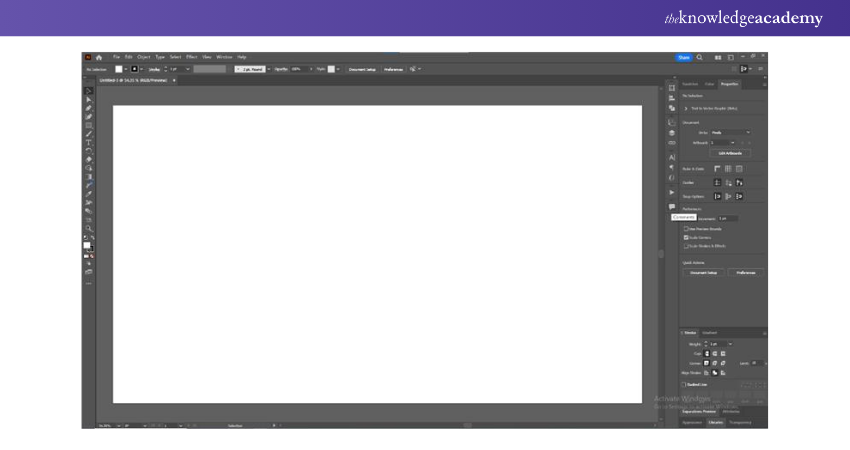
Arrange your tools and panels for easy access, customising the toolbar with frequently used tools. Use layers to keep different elements of your design organised, locking and hiding layers as needed to focus on specific parts. Save your workspace layout for future use to maintain consistency. This organisation helps you work more efficiently and keeps your design process streamlined.
Step 4: Getting Started with Shapes
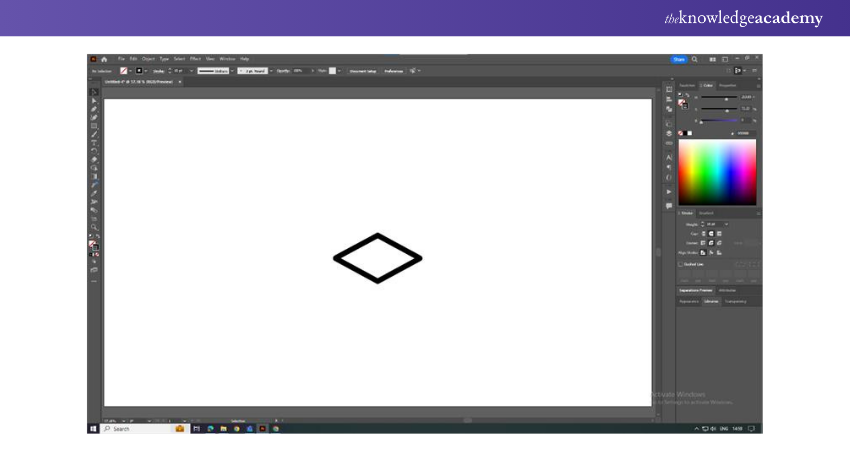
Use shape tools like rectangles, ellipses, and polygons to create basic forms. Combine these shapes to form more complex designs, adjusting their size, position, and rotation as needed. Utilise the Pathfinder tool to merge or subtract shapes, experimenting with different combinations to find the best fit for your logo. This step is crucial for building the core structure of your logo.
Step 5: Adding Lines, Colour, and Additional Objects
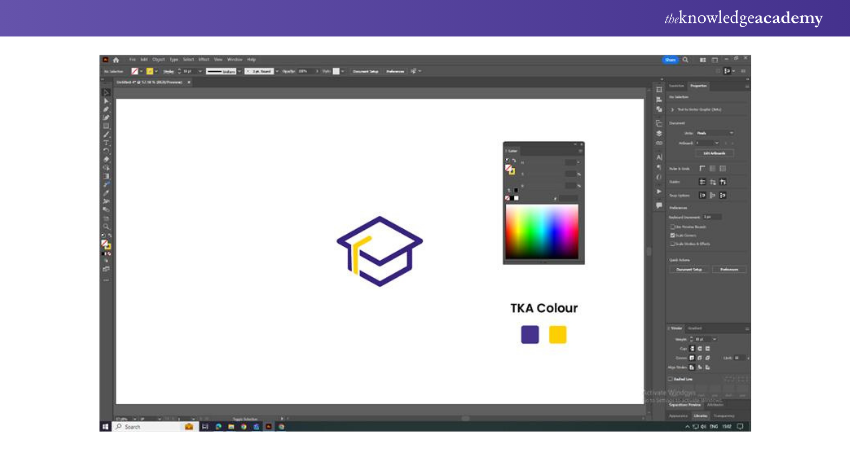
Use the Pen tool to draw custom lines and shapes, applying colours to your shapes and lines using the Color Picker. Add gradients and patterns for more depth and interest, and adjust line thickness and style with the Stroke panel. Incorporate additional objects like icons or symbols if needed to enhance your design. This step brings your logo to life with visual elements.
Learn how to optimise images with our Adobe Photoshop Course – Join today!
Step 6: Adding Text
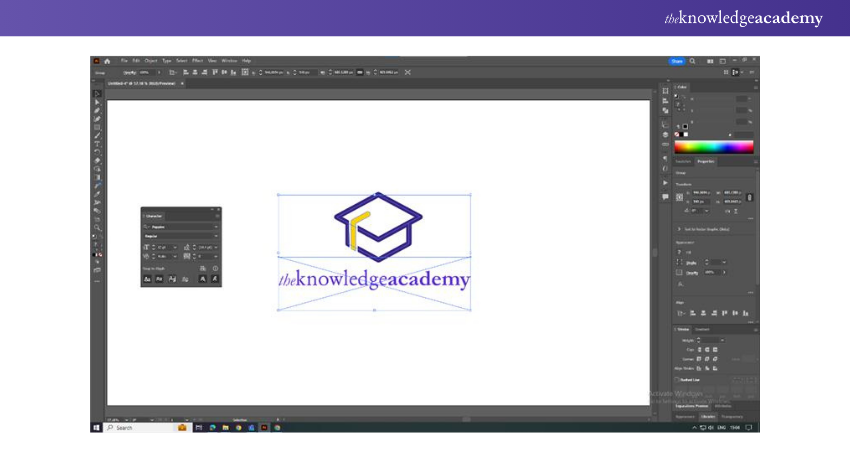
Select the Type tool and click on your canvas to start typing, choosing a font that matches the brand’s style. Adjust the size of the text, applying colours and effects to make it stand out. Position the text in relation to your shapes to create a cohesive design. This step integrates the brand’s name or tagline into the logo.
Step 7: Refining Your Design
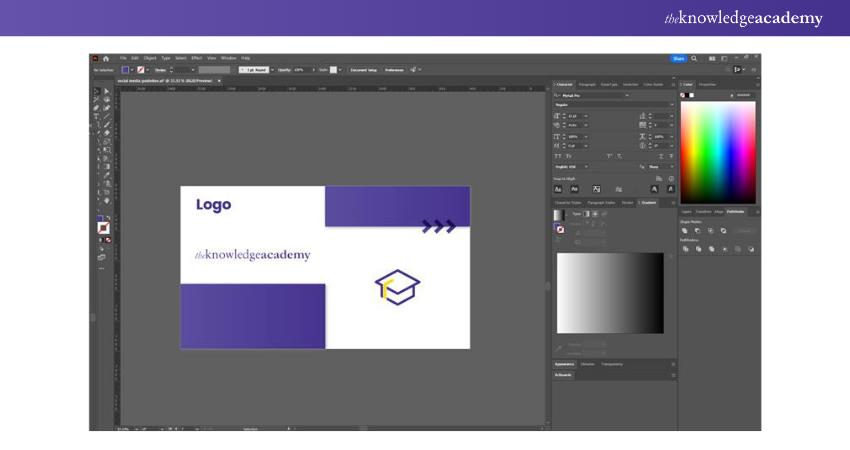
Review your design for balance and harmony, making adjustments to shapes, colours, and text as needed. Ensure all elements are aligned and spaced evenly, and get feedback from others to make necessary changes. Finalise the design by cleaning up any rough edges and refining details. This step polishes your logo to perfection.
Step 8: Saving the Logo
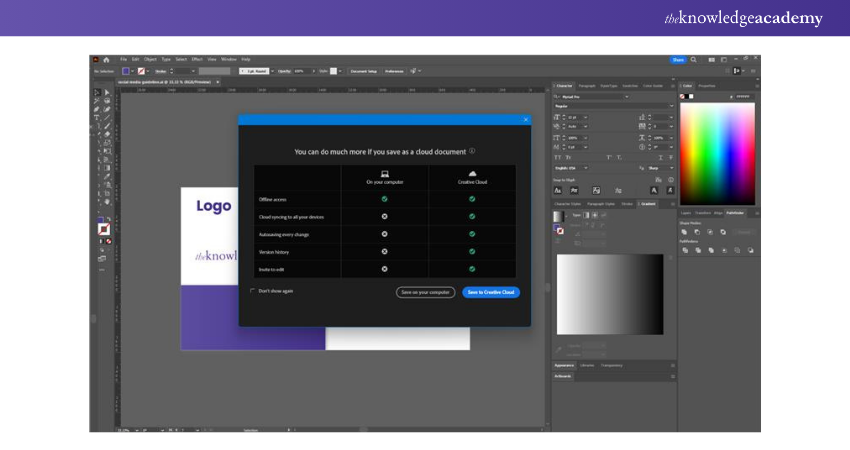
Save your work to avoid losing progress, using the “Save As” option to create different versions. Save the file in AI format for future editing and create a backup copy in a secure location. Organise your files in a dedicated folder for easy access. This step ensures your work is preserved and easily retrievable.
Step 9: Exporting the Logo
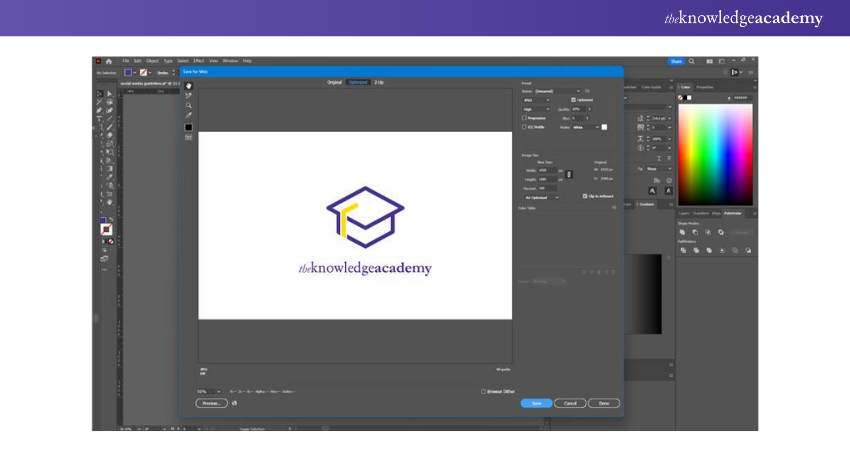
Select the “Export” option from the File menu, and choose the desired file format, such as PNG, JPEG, or SVG. Set the resolution and quality settings and export the logo in different sizes for various uses. Save the exported files in a folder for easy access. This step prepares your logo for use across different platforms and media.
Learn to create motion graphics with our Adobe After Effects Course – Join today!
Conclusion
We hope this blog has helped you with the question "How to Create a Logo in Adobe Illustrator." Your journey has only begun, and we're excited to see the brilliance you'll bring to the design world. Keep creating, innovating, and shaping your unique identity through the magic of Logo design.
Learn how to design logos with our Adobe Illustrator Training – Join today!
Frequently Asked Questions

Designers use Illustrator because it creates vector graphics. It can be adjusted without losing quality. This is important for logos that need to look good on both small and large items. Illustrator also helps create clean and sharp designs, perfect for professional logos.

To make a logo with a transparent background, design your logo in Illustrator. Make sure there is no background colour. Then, export the logo as a PNG file with transparency settings enabled.

The Knowledge Academy takes global learning to new heights, offering over 30,000 online courses across 490+ locations in 220 countries. This expansive reach ensures accessibility and convenience for learners worldwide.
Alongside our diverse Online Course Catalogue, encompassing 17 major categories, we go the extra mile by providing a plethora of free educational Online Resources like News updates, Blogs, videos, webinars, and interview questions. Tailoring learning experiences further, professionals can maximise value with customisable Course Bundles of TKA.

The Knowledge Academy’s Knowledge Pass, a prepaid voucher, adds another layer of flexibility, allowing course bookings over a 12-month period. Join us on a journey where education knows no bounds.

The Knowledge Academy offers various Adobe Courses, including Photoshop Course, InDesign Course and Adobe Premier Pro Course. These courses cater to different skill levels, providing comprehensive insights into How to use Adobe Illustrator.
Our Office Application Blogs covers a range of topics related to Adobe Illustrator, offering valuable resources, best practices, and industry insights. Whether you are a beginner or looking to advance your Adobe Illustrator skills, The Knowledge Academy's diverse courses and informative blogs have you covered.
Upcoming Office Applications Resources Batches & Dates
Date
 Photoshop Course
Fri 10th Jan 2025
Fri 14th Feb 2025
Fri 11th Apr 2025
Fri 23rd May 2025
Fri 8th Aug 2025
Fri 26th Sep 2025
Fri 21st Nov 2025


 Top Rated Course


 If you wish to make any changes to your course, please


