We may not have the course you’re looking for. If you enquire or give us a call on +30 2111995372 and speak to our training experts, we may still be able to help with your training requirements.
Training Outcomes Within Your Budget!
We ensure quality, budget-alignment, and timely delivery by our expert instructors.
Adobe Illustrator is a much-used vector graphics software that has become an industry standard for designers and illustrators worldwide. One of the key aspects of mastering Illustrator is understanding the various tools it offers. In this blog, we will take an in-depth look at the commonly used Adobe Illustrator Tools, explaining their functions and how to use them effectively.
Table of Contents
1) Selection Tools
2) Drawing Tools
3) Shape Tools
4) Type Tools
5) Transformation Tools
6) Other tools
7) Conclusion
Selection Tools
The following are some of the Selection Tools commonly used in Adobe Illustrator:
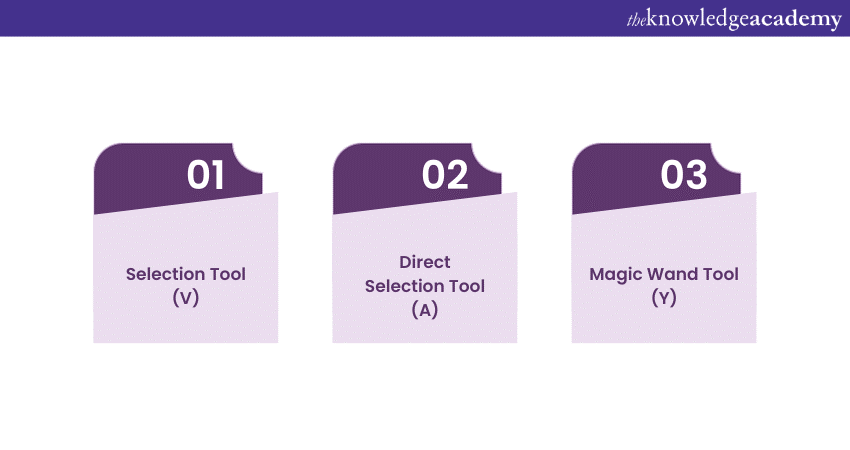
Selection Tool (V)
The Selection Tool (V) in Illustrator is the primary selection tool, used for selecting entire objects, moving them, resizing, and rotating.
1) Click an object to select it.
2) Click and drag to create a selection marquee for multiple selections.
3) Hold Shift to add or subtract from the selection.
4) Use the rotation handle to rotate objects.
Direct Selection Tool (A)
The Direct Selection Tool (A) is for fine-grained editing, letting you select and adjust individual anchor points and segments within a shape or path.
1) Click an anchor point or segment to select it.
2) Create a selection marquee for multiple selections.
3) Hold Shift to add or subtract from the selection.
4) Convert between smooth and corner anchor points.
Magic Wand Tool (Y)
The Magic Wand Tool (Y) selects objects with similar attributes like fill colour, stroke colour, or stroke weight.
1) Click an object with the desired attribute.
2) Adjust tolerance in the Control panel for sensitivity.
3) Hold Shift to add, Alt (Option on Mac) to subtract from the selection.

Drawing Tools
The following are some of the Drawing Tools commonly used in Adobe Illustrator.
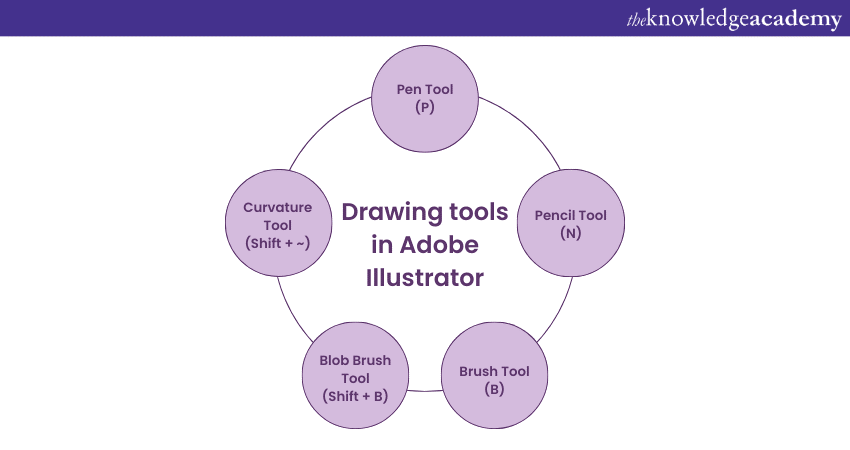
Pen Tool (P)
The Pen Tool (P) in Illustrator is the Swiss Army knife of vector drawing. It's used for creating and editing complex paths and shapes by placing anchor points.
1) Click to create straight line segments.
2) Click and drag to create curved paths.
3) Click down on the Alt key (or the Option key on Mac) to adjust a single side of a path independently.
4) Double-click to close a path or shape.
Pencil Tool (N)
The Pencil Tool (N) offers a free-hand drawing experience, allowing you to draw freeform paths with a hand-drawn feel.
1) Select the tool and start drawing with your mouse or tablet.
2) Adjust the smoothing setting in the Control panel for cleaner or more organic lines.
Brush Tool (B)
The Brush Tool (B) lets you paint strokes with various brush presets, providing artistic and organic lines to your designs.
1) Choose a brush preset from the Brushes panel.
2) Adjust the stroke's size, opacity, and other settings in the Control panel.
Blob Brush Tool (Shift + B)
The Blob Brush Tool (Shift + B) combines the simplicity of a brush with the vector capabilities of Illustrator. It's perfect for creating organic and painterly shapes.
1) Draw freely like with the Pencil Tool.
2) The Blob Brush Tool automatically merges overlapping paths into a single shape.
Curvature Tool (Shift + ~)
The Curvature Tool (Shift + ~) simplifies drawing smooth, precise curves without the need for multiple anchor points.
1) Click to create anchor points.
2) Click and drag to adjust the curvature directly.
3) Double-click to finish the path.
Join our Adobe Courses to master essential tools and techniques! Start your journey toward becoming a design expert.
Shape Tools
The following are some of the Shape Tools commonly used in Adobe Illustrator.
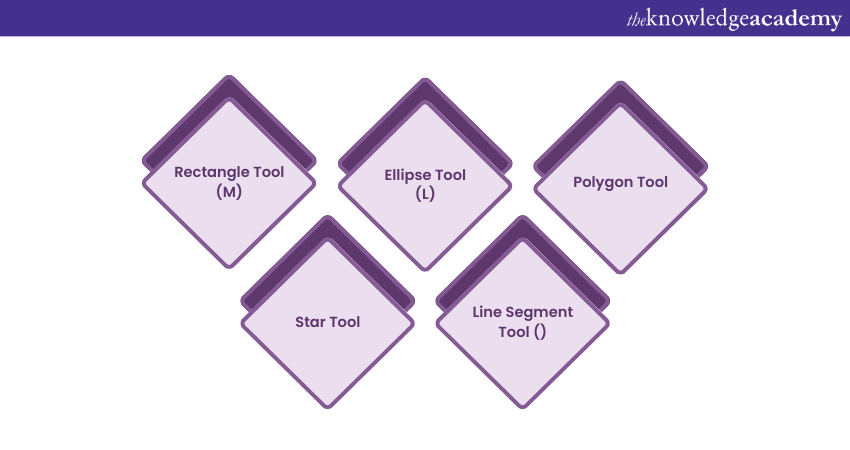
Rectangle Tool (M)
The Rectangle Tool (M) is your go-to for creating precise rectangles or squares. It offers easy customisation of dimensions and corner radii.
1) Click and drag to draw a rectangle.
2) Hold the Shift key while you are dragging to create a perfect square.
3) Adjust the width, height, and corner radii in the Control panel.
Ellipse Tool (L)
The Ellipse Tool (L) is your ticket to drawing circles and ellipses. Hold the Shift key while drawing to ensure a perfect circle.
1) Click and drag to draw an ellipse.
2) Hold Shift for a perfect circle.
3) Adjust the dimensions in the Control panel.
Polygon Tool
The Polygon Tool helps you craft polygons with multiple sides. You can adjust the number of sides and the shape's rotation.
1) Click and drag to draw a polygon.
2) Use the up and down arrow keys to change the number of sides.
3) Adjust the rotation angle in the Control panel.
Star Tool
The Star Tool enables you to create star shapes with customisable points and sizes.
1) Click and drag to draw a star.
2) Use the up and down arrow keys to adjust the number of points.
3) Modify the radius and inset values in the Control panel.
Line Segment Tool ()
The Line Segment Tool () is designed for drawing straight lines or paths. Hold Shift to constrain the angle to 45-degree increments.
1) Click and drag to draw a line.
2) Hold Shift for precise horizontal, vertical, or diagonal lines.
3) Adjust the line's length and angle in the Control panel.
Type Tools
The following are some of the Type Tools commonly used in Adobe Illustrator.
Type Tool (T)
The Type Tool (T) is the gateway to adding text to your illustrations. You can create both point text and area text using this versatile tool.
1) Select the Type Tool from the toolbar.
2) Click on your canvas to create point text, which is text in a single line.
3) Click and drag to define a text area for area text, which flows within the boundaries.
4) Type your text, and you can adjust the font, size, and other text attributes in the Control panel.
Area Type Tool
The Area Type Tool is an extension of the Type Tool that allows you to create text containers within shapes. This is ideal for fitting text into specific areas or shapes.
1) Select the Type Tool (T) from the toolbar.
2) Click on the edge of a shape to create an area text container.
3) Type your text, and it will automatically wrap within the shape's boundaries.
Type on a Path Tool
The Type on a Path Tool is designed for adding text along a path, giving your text a curved or custom shape.
1) Select the Type on a Path Tool from the Type Tool submenu.
2) Click on an existing path or create a new one.
3) Type your text, and it will follow the shape of the path.
Master e-learning with Adobe Captivate Training. Enroll now and revolutionize your training programs!
Transformation Tools
The following are some of the Transformation Tools commonly used in Adobe Illustrator.
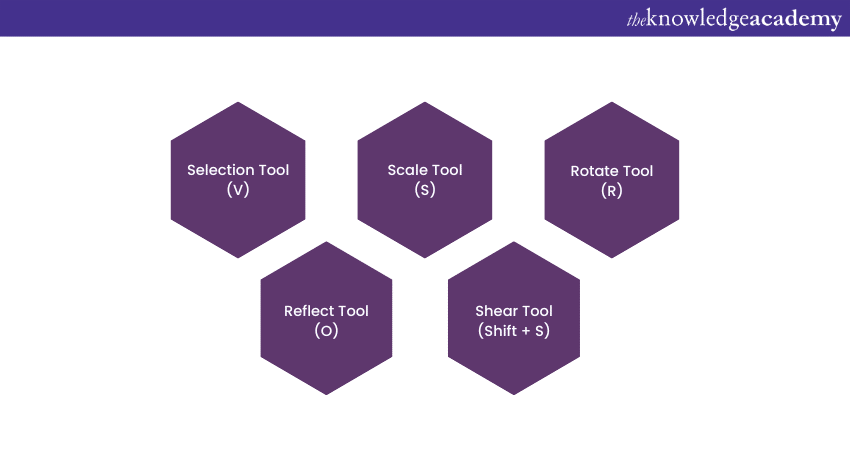
Selection Tool (V)
The Selection Tool (V) is the fundamental Illustrator tool for selecting and moving objects within your artwork. While it may not seem like a transformation tool at first glance, it plays a pivotal role in the transformation process.
1) Select an object with the Selection Tool.
2) Use the bounding box's handles to resize the object proportionally.
3) Click and drag the rotation handle (the curved arrow) to rotate the object.
4) Hover over the corner handles, and when your cursor changes itself to a double-sided arrow, you can resize non-proportionally.
Scale Tool (S)
The Scale Tool (S) is dedicated to resizing objects, allowing you to make adjustments both proportionally and non-proportionally.
1) Select an object.
2) Activate the Scale Tool.
3) Click to set a reference point for scaling.
4) Click and drag to resize the object. Holding Shift ensures proportional scaling.
Rotate Tool (R)
The Rotate Tool (R) is your tool for rotating objects around a specific point, giving you control over the angle of rotation.
1) Select an object.
2) Activate the Rotate Tool.
3) Click to set the rotation point (the centre of rotation).
4) Click and drag to rotate the object.
Reflect Tool (O)
The Reflect Tool (O) mirrors objects across a specified axis, allowing you to create symmetrical designs effortlessly.
1) Select an object.
2) Activate the Reflect Tool.
3) Click to set the reflection axis (the line over which the object will be reflected).
4) Illustrator mirrors the object along the axis.
Shear Tool (Shift + S)
The Shear Tool (Shift + S) in Illustrator skews objects horizontally or vertically, adding dynamic perspective to your designs.
1) Select an object.
2) Activate the Shear Tool.
3) Click and drag to apply the shear transformation. Dragging horizontally skews vertically, and vice versa.
Elevate your design skills with our Adobe InDesign Course – unlock your creative potential today!
Other tools
The following are some of the other miscellaneous Adobe Illustrator Tools.
Artboard Tool (Shift + O)
The Artboard Tool (Shift + O) allows you to create and manipulate artboards, which serve as the canvas for your illustrations.
Hand Tool (H)
The Hand Tool (H) lets you navigate your document quickly by dragging it to view different areas.
Zoom Tool (Z)
The Zoom Tool (Z) allows you to zoom in and out on your artwork for precise editing.
Eyedropper Tool (I)
The Eyedropper Tool (I) samples colours and attributes from one object and applies them to another.
Gradient Tool (G)
The Gradient Tool (G) helps you create and edit gradients, adding depth and dimension to your artwork.
Shape Builder Tool (Shift + M)
The Shape Builder Tool (Shift + M) lets you combine and divide shapes easily to create complex forms.
Eraser Tool (Shift + E)
The Eraser Tool (Shift + E) removes parts of paths or shapes, allowing for precise editing.
Scissors Tool (C)
The Scissors Tool (C) cuts paths at specific anchor points, enabling you to create separate segments.
Blend Tool (W)
The Blend Tool (W) creates smooth transitions between objects, making it ideal for creating gradients and special effects.
Perspective Grid Tool
The Perspective Grid Tool helps you create three-dimensional grids for drawing in perspective.
Gradient Mesh Tool (U)
The Gradient Mesh Tool (U) is used to create complex gradients within shapes.
Symbol Sprayer Tool
The Symbol Sprayer Tool allows you to spray instances of symbols across your artwork.
Symbol Shifter Tool
The Symbol Shifter Tool moves and repositions symbol instances within your artwork.
Wrinkle Tool
The Wrinkle Tool adds a wrinkle effect to objects, giving them a realistic appearance.
Bloat Tool
The Bloat Tool inflates objects, making them appear fuller and more rounded.
Twirl Tool
The Twirl Tool rotates and distorts objects in a swirling motion.
Free Transform Tool (E)
The Free Transform Tool (E) provides more advanced transformation options than the basic Transformation Tools.
Crop Area Tool
The Crop Area Tool trims the canvas and isolates the selected area.
Perspective Selection Tool
The Perspective Selection Tool selects objects within a perspective grid.
Measure Tool
The Measure Tool helps you measure distances and angles in your artwork.
Slice Tool (Shift + K)
The Slice Tool (Shift + K) divides your artwork into smaller sections for web export.
Live Paint Bucket Tool (K)
The Live Paint Bucket Tool (K) allows you to fill closed shapes with colours easily.
Live Paint Selection Tool (Shift + L)
The Live Paint Selection Tool (Shift + L) helps you select and manipulate Live Paint groups.
Mesh Tool (U)
The Mesh Tool (U) adds mesh points to objects, enabling you to create complex gradients and shading.
Gradient Annotator
The Gradient Annotator provides visual control over gradient direction and positioning.
Perspective Selection Tool (Shift + V)
The Perspective Selection Tool (Shift + V) selects and manipulates objects within a perspective grid.
Curvature Tool (Shift + ~)
The Curvature Tool (Shift + ~) simplifies drawing smooth, precise curves without the need for multiple anchor points.
Symbol Screener Tool
The Symbol Screener Tool adjusts the opacity of symbol instances in your artwork.
Symbol Styler Tool
The Symbol Styler Tool changes the appearance of symbol instances, including their colours and effects.
Symbol Spinner Tool
The Symbol Spinner Tool rotates symbol instances within your artwork.
Shape Touch-up Tool
The Shape Touch-up Tool refines and adjusts the appearance of shapes and paths.
Blob Brush Tool (Shift + B)
The Blob Brush Tool (Shift + B) combines the simplicity of a brush with the vector capabilities of Illustrator, making it ideal for creating organic shapes.
Perspective Crop Tool
The Perspective Crop Tool allows you to crop and adjust perspective on specific parts of your artwork.
Perspective Selection Tool (Shift + V)
The Perspective Selection Tool in Illustrator (Shift + V) selects and manipulates objects within a perspective grid.
Create stunning visuals with our Adobe After Effects Course. Enroll now and bring your ideas to life!
Conclusion
To sum it up, Adobe Illustrator Tools empower designers to unleash their creativity with precision and flair. From shape manipulation to text styling and transformational finesse, Illustrator offers a versatile toolkit for crafting stunning vector-based designs. By mastering these Adobe Illustrator Tools, you can navigate the realm of digital artistry with confidence, turning your imaginative visions into captivating visual realities.
Elevate your design skills with our Adobe Illustrator Training! Learn to create stunning graphics and unleash your creativity. Join us today!
Upcoming Office Applications Resources Batches & Dates
Date
 Photoshop Course
Wed 12th Feb 2025
Wed 16th Apr 2025
Wed 18th Jun 2025
Wed 13th Aug 2025
Wed 15th Oct 2025
Wed 10th Dec 2025


 Top Rated Course


 If you wish to make any changes to your course, please


