We may not have the course you’re looking for. If you enquire or give us a call on +36 18508731 and speak to our training experts, we may still be able to help with your training requirements.
We ensure quality, budget-alignment, and timely delivery by our expert instructors.

Microsoft's Dynamics 365 offers versatile tools for handling different aspects of your organisation – sales, customer relationships, and more. A standout feature is customisable Dashboards, presenting tailored key data. Creating Dashboards in Dynamics 365 is easy if you know the basics.
Dynamics 365 Dashboards are centralised hubs for accessing essential data, metrics, and insights across various modules. Learn all there is to know about creating Dashboards in Microsoft Dynamics 365/CRM, as well as one of the simplest ways to do it.
Table of contents
1) What is a Dashboard?
2) What are the benefits of using a Dashboard?
3) Steps to create a Dashboard
4) Tips for creating a Dashboard
5) Conclusion
What is a Dashboard?
A Dashboard visualises crucial information, data, and Key Performance Indicators (KPIs) amalgamated onto a singular screen or page. It furnishes users with a swift and uncomplicated means to oversee, dissect, and comprehend intricate data sets or business procedures briefly. Dashboards find widespread utility in diverse domains, including commerce, finance, healthcare, and technology, aiding in making data-driven choices and attaining insights without delving into exhaustive reports.
Elevate Your Skills with Microsoft Dynamics 365 Training – Join Now!
What are the benefits of using a Dashboard?
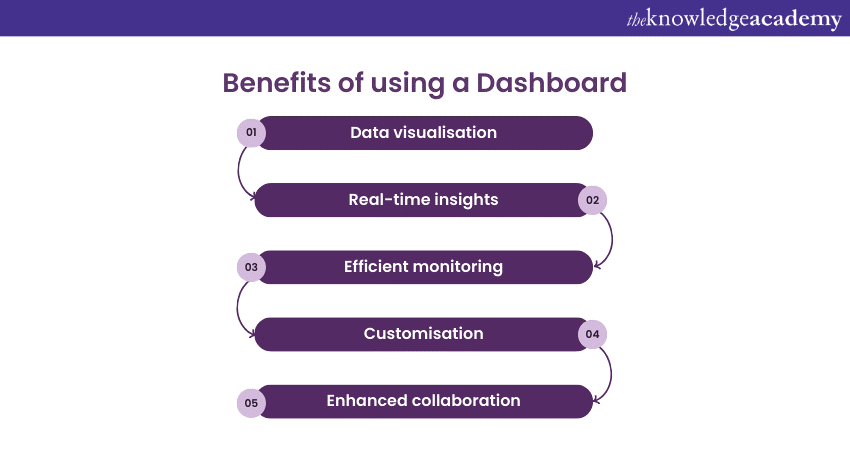
Within Dynamics 365, a comprehensive suite encompassing Enterprise Resource Planning (ERP) and Customer Relationship Management (CRM) applications, Dashboards are significant in aiding users to steer their business processes and associations effectively. Crafting Dashboards in Dynamics 365 confers several advantages listed below:

Data visualisation
Dashboards present data in a visually appealing and intuitive manner, making it simple for users to grasp trends, patterns, and relationships.
Real-time insights
By incorporating live or near-real-time data feeds, Dynamics 365 Dashboards provide up-to-date information, enabling users to make timely decisions based on the most current data.
Boost efficiency with Dynamics 365 Business Process Flow! Simplify tasks and automate workflows with our step-by-step guide. Learn today!
Efficient monitoring
Dashboards offer a centralised location to monitor key metrics and KPIs, reducing the need to sift through multiple reports or systems to gather relevant information
Customisation
Users can personalise their Dashboards by choosing the specific components and data to display, tailoring the Dashboard to their unique roles and responsibilities.
Enhanced collaboration
Sharing Dashboards with colleagues fosters better collaboration and alignment within teams, as everyone can have access to the same information.
Empower Your Business with Microsoft Dynamics 365 Fundamentals (ERP) MB920 – Join Now for Success!
Steps to create a Dashboard
Here's an explanation of the steps to create a Dashboard in Dynamics 365:
a) Open the Dynamics 365 app: Launch the Dynamics 365 application where you want to create the Dashboard. This is typically the software interface through which you interact with Dynamics 365.
b) Click on the "Dashboards" menu: Inside the application, locate and click on the "Dashboards" menu. This menu likely contains options related to managing and creating Dashboards.
c) Click on the "New" button: Look for a "New" button or similar option within the "Dashboards" menu. This is the starting point for creating a new Dashboard.
d) Select the type of Dashboard you want to create: Dynamics 365 might offer various types or templates of Dashboards, each suited for different purposes. Choose the type of Dashboard that aligns with your needs.
Ace your interview with our expert guide on "Dynamic 365 Interview Questions and Answers"! Get key insights and boost your confidence. Click here to start preparing today!
e) Enter a name for your Dashboard: Provide a distinctive and descriptive name for your Dashboard. This name will help you identify and locate the Dashboard later.
f) Add components to your Dashboard: Customise your Dashboard by adding components like charts, graphs, reports, or other relevant data visualisations. These components will display the information you want to track and monitor.
g) Customise the layout of your Dashboard: Arrange the added components within the Dashboard layout to create a visually organised and informative display. You can adjust the size, position, and arrangement of each component.
h) Save and publish your Dashboard: Once you're satisfied with the layout and components, save your Dashboard to ensure your changes are retained. After saving, you might also have the option to publish the Dashboard, making it accessible to others who have access to Dynamics 365.
Empower Your Skills with Introduction To Microsoft Dynamics 365 55250A Training Training – Join Now!
Tips for creating a Dashboard

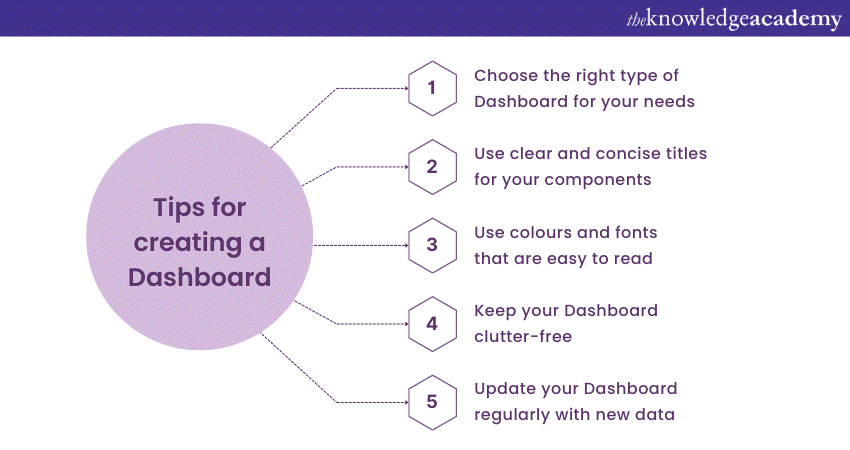
Here's an explanation of the tips for creating a Dashboard:
a) Choose the right type of Dashboard for your needs: Select a Dashboard-type that aligns with your objectives. Different Dashboard templates are designed to highlight various types of information, so choose the one that best suits the data you want to visualise.
b) Use clear and concise titles for your components: When labelling the components within your Dashboard, use titles that succinctly describe the information they present. Clear titles help users quickly understand the purpose of each element.
Unlock the power of Custom Workflows in Dynamics 365! Automate tasks and streamline processes with our expert guide. Start now!
c) Use colours and fonts that are easy to read: Choose colours and fonts that ensure readability. High contrast between text and background, along with font styles that are easy on the eyes, will make it effortless for users to absorb the information displayed.
d) Keep your Dashboard clutter-free: Avoid overloading your Dashboard with excessive components or information. Prioritise the most important data and avoid unnecessary elements to maintain a clean and focused display.
e) Update your Dashboard regularly with new data: Keep your Dashboard current as data changes and updates. Periodically refreshing the information ensures that users can always access the latest insights and make informed decisions based on history.
Conclusion
Creating Dashboards in Dynamics 365 is your key to unlocking valuable insights. Tailored to your needs, these Dashboards help you make smart decisions with a glance. So, dive in, customise, and enjoy the benefits of informed choices through your personalised Dynamics 365 Dashboards.
Elevate Your CRM Expertise with Microsoft Dynamics 365 Fundamentals (CRM) MB910 – Join Now!
Frequently Asked Questions
Upcoming Microsoft Technical Resources Batches & Dates
Date
 Microsoft Dynamics 365 Fundamentals (CRM) MB910
Fri 4th Apr 2025
Fri 6th Jun 2025
Fri 8th Aug 2025
Fri 3rd Oct 2025
Fri 5th Dec 2025


 Top Rated Course


 If you wish to make any changes to your course, please


