


 Top Rated Course

We may not have the course you’re looking for. If you enquire or give us a call on +44 1344 203999 and speak to our training experts, we may still be able to help with your training requirements.
How to Use Adobe Photoshop Generative AI Fill?
Sienna Roberts 03 December 2024Master the art of harnessing Adobe Photoshop Generative AI Fill with our step-by-step blog. Follow this comprehensive blog, which includes opening your image, accessing the AI Fill tool and fine-tuning your results through post-processing. Whether you're a beginner or an experienced user, this tutorial will enhance your creative abilities.

Training Outcomes Within Your Budget!
We ensure quality, budget-alignment, and timely delivery by our expert instructors.
Table of Contents

Adobe Photoshop has remained the gold standard in image editing software for many years. Among its many features, the Generative AI Fill is one of its most innovative tools, leveraging Artificial Intelligence to enhance photo editing in unprecedented ways. In this blog, we will look at a step-by-step guide to using Adobe Photoshop Generative AI Fill, its prerequisites, as well as tips and tricks to use the tool.
Table of Contents
1) Prerequisites to use Adobe Photoshop Generative AI Fill
2) A step-by-step guide to using Adobe Photoshop Generative AI Fill
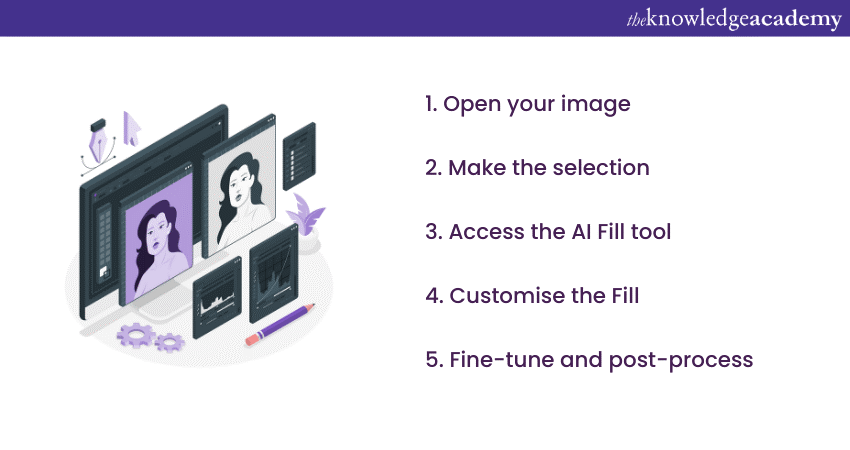
a) Open your image
b) Make the selection
c) Access the AI Fill tool
d) Customise the Fill
e) Fine-tune and post-process
3) Tips and tricks to use Adobe Photoshop Generative AI Fill
4) Conclusion
Prerequisites to use Adobe Photoshop Generative AI Fill
Let's have a quick look at the prerequisites to use the Generative AI Fill tool:
Adobe Photoshop software
It's crucial to have the latest version of Adobe Photoshop installed. With rapidly evolving AI-based features, updating your software ensures you access the most advanced and refined tools. You can check for updates through the Adobe Creative Cloud app.

Hardware requirements
You will need several hardware requirements to access the Generative AI Fill tool. These requirements are as follows:
1) Processor (CPU): A multi-core processor with 64-bit support. Given the intensity of AI computations, newer generations (e.g., Intel i7, i9, or equivalent) are recommended.
2) RAM: At least 8GB of RAM, though 16GB or more is highly suggested for smoother performance when handling large files or using multiple tools simultaneously.
3) Graphics Processor (GPU): A recent NVIDIA or AMD GPU with at least 2GB of VRAM. Ensure that your GPU supports OpenGL 2.0 and has the latest drivers installed.
4) Hard drive space: Ensure you have ample storage, especially if you work with large files. An SSD (Solid State Drive) can significantly improve performance.
Unlock your creative potential! Explore our Adobe Training and learn how to turn your ideas into impressive designs.
Basic knowledge of Photoshop
Familiarise yourself with Photoshop's user interface, including the tools palette, menus, layers panel, and adjustment settings. The effectiveness of Generative AI Fill often hinges on accurate selections, and hence being adept with tools such as Magic Wand, Lasso, and Quick Selection tools can be crucial.
Step-by-step guide to using Adobe Photoshop Generative AI Fill
Here's a step-by-step guide to using Adobe Photoshop Generative Fill. Let's have a detailed look at these steps:
Open your image
Follow these steps to open an image of your choice:
1) Launch Adobe Photoshop: Double-click the Photoshop icon to open the program.
2) Open file menu: Click on the 'File' option located in the top-left corner.
3) Browse for your image: Select the 'Open' option, and a dialogue box will appear. Go to the location of the image on your computer.
4) Load the image: Highlight the image by clicking on it and then click the 'Open' button.
Unleash your creativity and master the art of image editing with our comprehensive Adobe Photoshop Course. Sign up now!
Make the selection
Follow these steps to make your selection before you access the AI Fill tool:
1) Review your image: Look over your image to determine the areas you want to Fill or edit.
2) Tool selection: On the left, you'll see the tools palette. Here's how to use some of the selection tools:
a) Lasso tool (L): Click and drag to draw freeform selections around your area.
b) Polygonal Lasso tool: Click to set points, creating straight-edged shapes. Double-click to close the selection.
c) Magnetic Lasso tool: Click once to start, then hover around the edges of your object. The tool will cling to the contrasted edges.
d) Magic Wand tool (W): Single-click on an area with a uniform colour to select it. Adjust the 'Tolerance' in the toolbar settings to either increase or decrease the range of colours selected.
3) Refine edges: Once selected, right-click within the selection and choose 'Refine Edge' to adjust the edge's sharpness, feathering, and more.
Access the AI Fill tool
Adhere to the following steps to access the AI Fill tool:
1) Navigate to edit: In the top menu bar, locate the 'Edit' option.
2) Content-aware Fill: From the dropdown list, choose 'Content-Aware Fill' to launch the dedicated workspace for this feature.
Customise the Fill
Keep the following aspects in mind while customising the Generative AI Fill:
1) Workspace familiarisation: Note the split-screen view. Your original image is on the left, and the predicted Fill is on the right.
2) Sampling area: The areas highlighted in green are where Photoshop will take samples from. You can adjust this manually by using the following tools:
a) Brush tool: Paint areas you want Photoshop to consider for sampling.
b) Minus Brush tool: Remove areas from consideration.
3) Adjustment Panel: On the right side, tweak settings for a more precise Fill by utilising the following features:
a) Colour adaptation: Adjust how colours blend. For complex backgrounds, a higher setting might work best.
b) Rotation adaptation: For patterns or objects with orientation, this rotates the Fill content to align appropriately.
c) Scale & mirror: Allow Photoshop to resize or flip the sample area for a better fit.
Fine-tune and post-process
Follow these tips to fine-tune and post-process your image after you are done using the tool:
1) Apply changes: Once content with the AI Fill, click the 'OK' button. This will bring you back to your main workspace.
2) Clone Stamp Tool (S): Select the tool from the left panel. Alt-click (Option-click on Mac) on a source area, then paint over the Filled area to clone. Adjust the brush size and hardness from the toolbar settings at the top.
3) Healing Brushes:
a) Healing Brush tool (J): Alt-click to select a source, then paint to blend imperfections.
b) Spot Healing Brush tool: Simply paint over imperfections. Photoshop will automatically sample from nearby.
c) Blending edits: If there's a noticeable difference in brightness or colour, go to 'Image' > 'Adjustments' to fine-tune using options like 'Brightness/Contrast', 'Levels', or 'Hue/Saturation'.
Unleash your creative potential today with our Adobe Illustrator Training – where creativity meets skill!
Tips and tricks to use Adobe Photoshop Generative AI Fill
Here are some of the most useful tips and tricks you need to use Adobe Photoshop Generative AI Fill. Let's take a close look at each one of them:
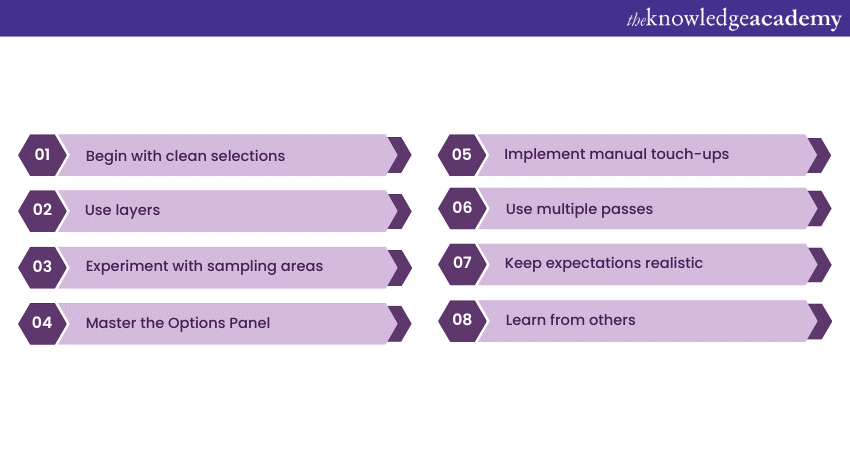
Begin with clean selections
When making selections, use a slight feather (1-3 pixels) to ensure smooth transitions between the Fill and the surrounding area. This is accessible in the options bar when you have a selection tool active.
Use layers
Before applying Generative AI Fill, duplicate the layer you're working on (Ctrl + J or Cmd + J on Mac). This way, you can easily revert changes or blend the Filled layer with the original for nuanced results. Instead of directly applying changes, use a layer mask. This allows you to paint in or out the effects, offering more control over the Filled area.
Experiment with sampling areas
Generative AI Fill uses areas you designate as samples. Sometimes, the initial sample area might not give perfect results. Feel free to subtract or add to the sampling areas and see how the predictions vary.
Master the Options Panel
For complex textures, set the Colour Adaptation to ‘High’. Similarly, for simpler Fills, ‘Low’ or ‘Medium’ might suffice. As for patterns, activating the 'Scale' or 'Mirror' options can yield more consistent Fills. However, be cautious, as over-scaling can introduce artefacts.
Implement manual touch-ups
After using Generative AI Fill, the Clone Stamp tool can be invaluable for manual touch-ups. It helps in blending areas that the AI might not get perfect. For slight imperfections, the Healing Brush tool can also merge the Filled areas seamlessly with the surroundings.
Use multiple passes
If the initial Fill isn't perfect, don't hesitate to use the Generative AI Fill multiple times on the same area. Each pass might improve the result incrementally.
Keep expectations realistic
While AI Fill is powerful, there are instances where recreating intricate patterns or details might not be 100% accurate. It's a tool to ease the process, but some manual intervention might still be required.
Learn from others
The Photoshop community is vast. Watch online tutorials to learn new strategies or ways to maximise the effectiveness of the tool.
Check GPU performance
If you find the tool lagging, ensure Photoshop is utilising your GPU. Go to Edit > Preferences > Performance and ensure Use Graphics Processor is checked.
Understand limitations
You must remember that the tool is based on patterns and Machine Learning. There may be times when it doesn't produce the expected results due to the vast variability of photographic scenarios.
Conclusion
To sum it up, Adobe Photoshop Generative AI Fill is a revolutionary tool that can save immense time and produce professional results. As with any tool, practice is the key to mastery; you can start by working on your personal projects. You can also experiment with different images to fully grasp the true potential of this feature.
Ready to tell your story through video? Join our Adobe Premiere Pro Course and learn how to create stunning edits like a pro!
Frequently Asked Questions
Upcoming Office Applications Resources Batches & Dates
Date
 Photoshop Course
Photoshop Course
Fri 17th Jan 2025
Photoshop Course
Fri 7th Mar 2025
Photoshop Course
Fri 23rd May 2025
Photoshop Course
Fri 18th Jul 2025
Photoshop Course
Fri 12th Sep 2025
Photoshop Course
Fri 14th Nov 2025
Photoshop Course
Fri 12th Dec 2025
 If you wish to make any changes to your course, please


